If you’ve recently had your windshield tinted or purchased a vehicle with factory-tinted glass, you’ve probably asked yourself this question: Can I put a dash cam on a tinted windshield? It’s a fair concern. You don’t want to ruin expensive tint film, compromise video quality, or run into legal trouble.
The short answer is yes — you absolutely can install a dash cam on a tinted windshield. But doing it right requires understanding your tint type, choosing the correct mounting method, picking the right camera, and knowing a few pro tricks to avoid common pitfalls.
This guide covers everything you need to know — from legality across the USA, UK, Canada, and Australia to step-by-step installation, troubleshooting, and product recommendations.
Is It Even Legal? (Legality in the USA, UK, Canada & Australia)
Before you install anything, let’s address the legal side. Dash cams themselves are generally legal in all four target countries, but where and how you mount them matters.
United States
Dash cam usage is legal nationwide, but installation regulations vary by state. The general rule across most states: you cannot mount anything on the windshield that obstructs the driver’s view. Most jurisdictions restrict tint and accessories below the AS-1 line — the shaded band at the top of the windshield. Mounting your dash cam behind the rearview mirror, in the center of the windshield, keeps you compliant in nearly all states.
United Kingdom
Dash cams are legal in the UK, but drivers must follow road safety regulations and avoid obstructing their view. The front windscreen must allow at least 75% of light to pass through. Your dash cam should sit behind the mirror, out of the driver’s primary line of sight.
Canada
Dash cam usage is generally permissible across Canada. However, privacy laws regarding audio recording vary by province. In some provinces, recording conversations without consent may trigger privacy regulations. We’ll cover audio recording in more detail later.
Australia
In Australia, dash cams are legal, but windshield tinting is heavily restricted. In South Australia, for example, the front windshield is only allowed to be tinted in the top 10% area. The driver’s side windows must have a light transmittance of no less than 35%. Always check your state or territory’s specific regulations before installation.
Understanding Your Windshield Tint (Factory vs. Aftermarket)
Not all tints are created equal. Understanding what’s on your windshield is the first step to a successful installation.
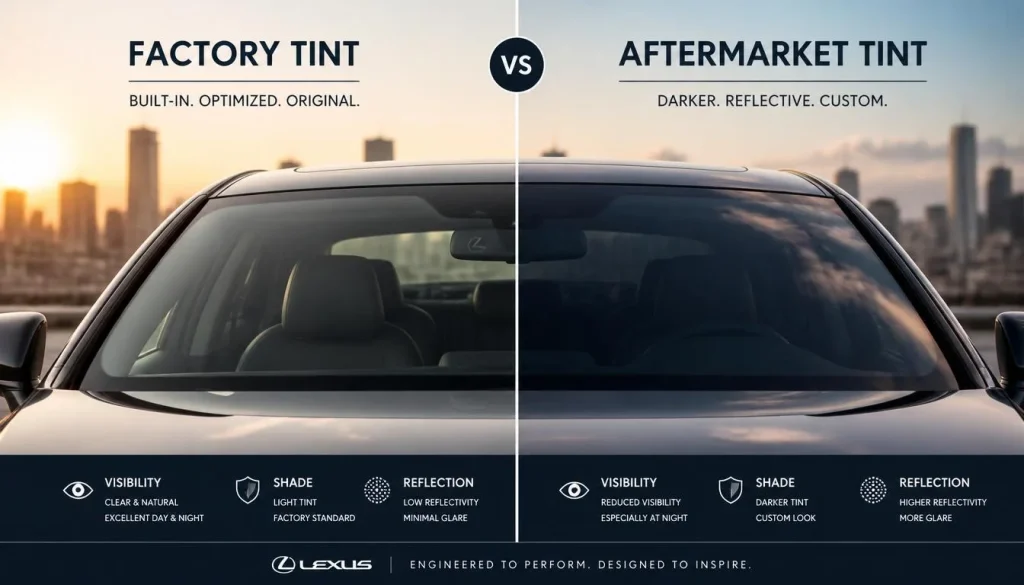
Factory Tint
Most factory tints are built into the glass itself. These typically won’t interfere with dash cam installation or performance. The glass may have a slight color, but it doesn’t affect adhesion or signal reception.
Aftermarket Tint
Aftermarket films fall into three main categories:
- Dyed Film: The most basic option. It darkens the glass but offers minimal heat rejection. Generally safe for dash cams.
- Metallic/Sputtered Film: Contains metal particles for heat reflection. This is where problems start — metallic tints can act as a Faraday cage, physically blocking GPS satellite signals from reaching your dash cam. They can also weaken cellular connections for emergency eCall systems.
- Ceramic/Carbon Film: The gold standard. Non-conductive ceramic particles block up to 95% of infrared heat without using metal. These are “signal-friendly” and rarely cause GPS or connectivity issues.
VLT (Visible Light Transmission) Matters
VLT is the percentage of light that passes through your tint. The darker the tint, the less light reaches your dash cam’s sensor.
- 20% VLT or higher: You should see no degradation in dash cam performance.
- Below 20% VLT: Nighttime footage quality will suffer significantly.
- 5% VLT: Extremely dark — footage will be severely compromised, especially at night.
For front windshields in the UK, a VLT of 75% or higher is both a legal and technical necessity. In Australia, front side windows require at least 35% VLT.
How to Mount a Dash Cam on Tinted Glass (Step-by-Step Guide)
Now for the main event. Here’s how to install your dash cam safely — without damaging your tint.
Step 1: Choose the Right Location
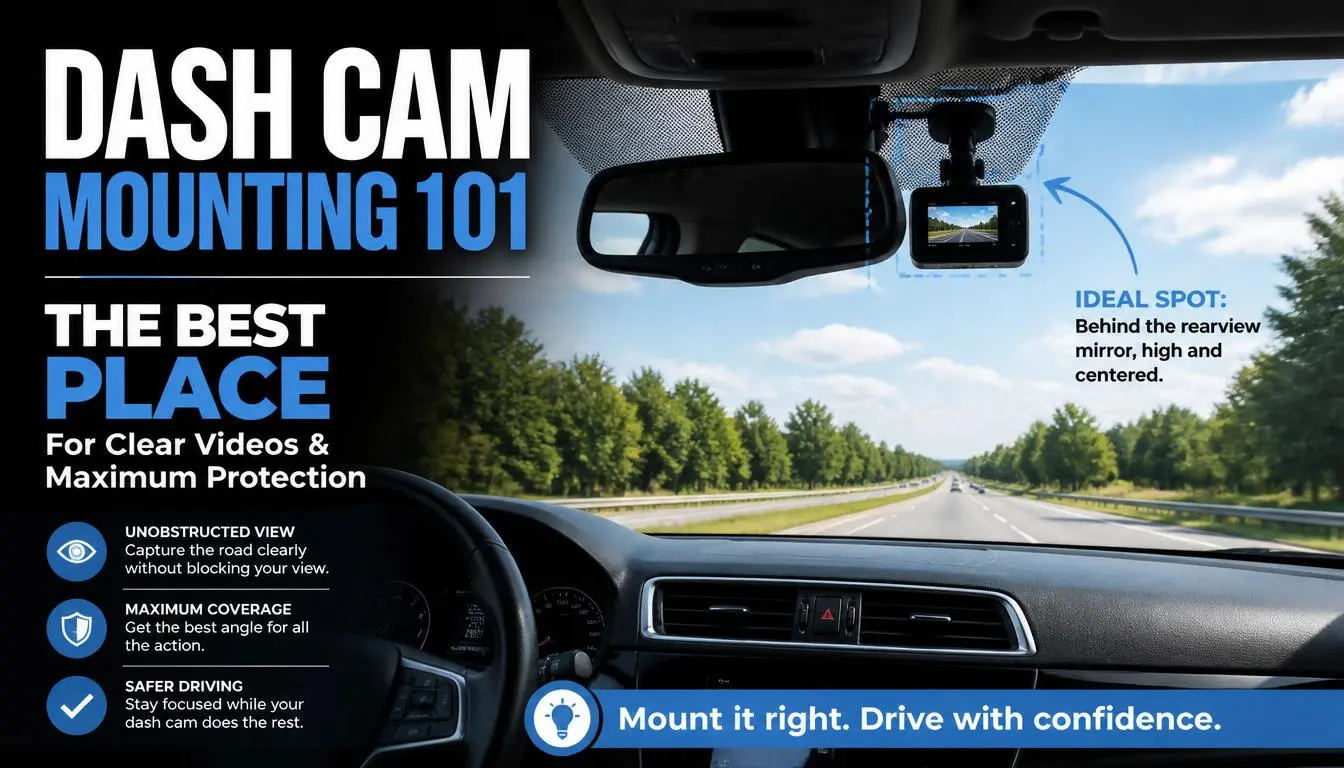
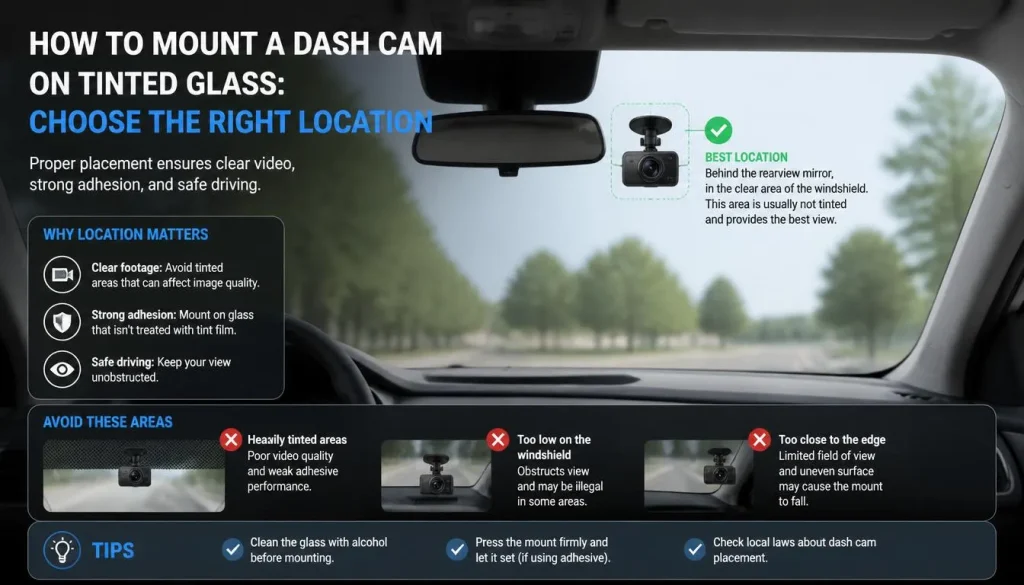
The ideal location is directly behind the rearview mirror, in the center of the windshield. This position:
- Keeps the camera out of the driver’s line of sight
- Provides a clear, unobstructed view of the road
- Often places the camera in or near the frit area (the black dotted section) — which is typically free of metallic coatings
Avoid mounting the camera:
- On the tinted band at the top of the windshield (footage will be unusable)
- Where it blocks factory sensors or the rearview mirror housing
Step 2: Wait for the Tint to Cure
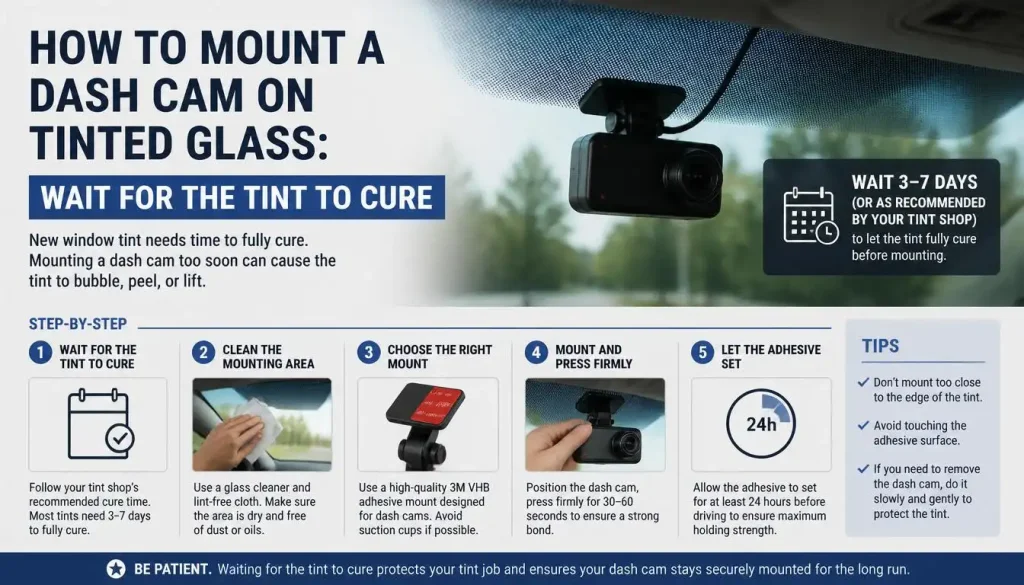
If you’ve just had aftermarket tint installed, wait at least 5–7 days before mounting anything. The film needs time to fully adhere to the glass. Mounting too early can cause bubbling, peeling, or permanent damage.
In colder weather, you may need to wait longer — up to 10–14 days.
Step 3: Pick the Right Mount
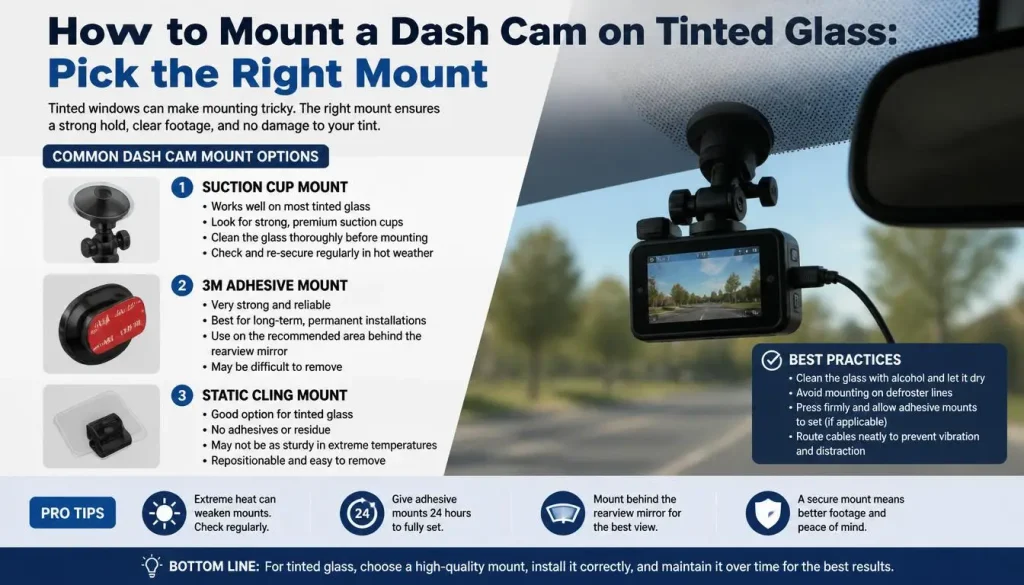
Suction Cup Mounts: Generally not recommended for tinted glass. Temperature changes cause suction cups to expand and contract, leading to falls. They can also pull tint film off when removed.
Adhesive Mounts (3M Tape): More reliable and discreet. However, never apply adhesive directly to tint film — removing it later can peel the tint right off.
The Best Solution: Static Cling Film + Adhesive Mount
This is the gold-standard method for tinted windshields:
- Apply a transparent static cling film (electrostatic sticker) to the inside of your windshield.
- Mount your dash cam’s adhesive bracket onto the static film.
- The film uses static electricity (not adhesive) to stick to the glass. It creates a vacuum seal through atmospheric pressure.
Benefits:
Pro Tip: Many dash cam brands (like VIOFO) sell static windshield stickers specifically designed for this purpose. You can also use a TPU screen protector as a DIY alternative.
Step 4: Clean the Surface
Before applying anything, clean the glass area thoroughly with an alcohol wipe. Ensure the surface is completely dry and free of condensation.
Step 5: Mount and Adjust
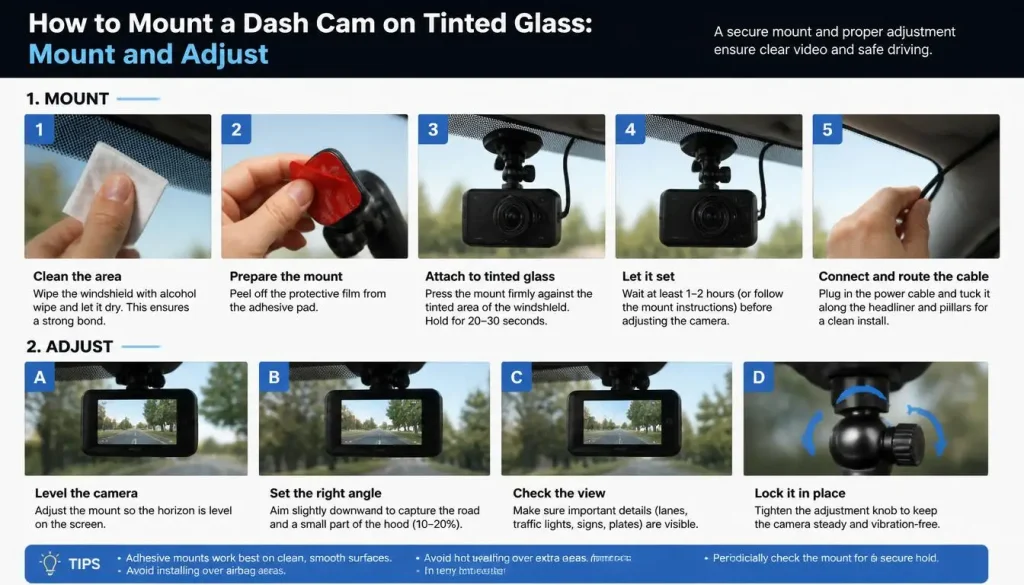
- Apply the static film to the glass, smoothing out air bubbles
- Attach the adhesive mount to the static film
- Wait 24 hours before attaching the dash cam body (allows the adhesive to fully bond)
- Insert the dash cam and adjust the angle
Step 6: Route the Cable
Tuck the power cable along the headliner, down the A-pillar, and into the footwell. Most vehicles allow clean cable routing without tools.
Choosing the Right Dash Cam for Tinted Windshields
Not all dash cams perform equally well behind tinted glass. Here’s what to look for:
Must-Have Features
Sony STARVIS or STARVIS 2 Sensor
This is non-negotiable for tinted windshields. STARVIS sensors excel in low-light conditions. The STARVIS 2 delivers a dynamic range of 78 dB in a single exposure — roughly 2.5 times better than the previous generation. License plates remain legible at night, and high-contrast scenes (like tunnels and bright daylight) are handled properly.
HDR (High Dynamic Range)
HDR balances bright and dark areas in your footage, crucial when shooting through tinted glass.
Adjustable Lens
Allows you to fine-tune the viewing angle without moving the mount.
Super Capacitor (Not Battery)
Batteries can swell and fail in extreme heat. Super capacitors handle temperature fluctuations much better.
Recommended Models
What to Avoid
CPL (Circular Polarizing Lens) Filters
Do not use a CPL filter with tinted windows. Both the tint and the CPL filter perform the same function — reducing glare and blocking light. Together, they multiply the effect, severely darkening your footage.
Think of it like wearing polarized sunglasses while driving with tinted windows. Some users also report a rainbow effect when combining CPL filters with tinted glass.
Potential Problems and How to Solve Them
Problem 1: Poor Video Quality at Night
Cause: Dark tint restricts light reaching the sensor.
Solutions:
- Choose a camera with Sony STARVIS/STARVIS 2 and HDR
- Adjust the camera’s exposure value (EV) settings
- Ensure your tint is 20% VLT or higher
- For extremely dark tint (below 20%), consider a camera with superior low-light performance like the Thinkware U3000
Problem 2: No GPS Signal
Cause: Metallic tint or Athermic (heat-reflective) glass blocking satellite signals.
Symptoms: Long “cold start” times (over 5 minutes) or no GPS data at all.
Solutions:
- Locate the “communication window” — most manufacturers leave a small clear area (often near the frit/dotted area behind the mirror) for toll passes and GPS signals. Mount your dash cam there.
- Test with a side window — temporarily move the camera to a non-metallic tinted side window. If GPS connects, your windshield is the problem.
- Switch to ceramic tint — ceramic films don’t block GPS signals.
- Use a GPS repeater — an external antenna mounted outside and a transmitter inside can “re-radiate” the signal. (Use at your own risk — this voids warranty on some dash cam brands).
Problem 3: Dash Cam Interfering with ADAS Sensors
Cause: Modern vehicles have cameras and sensors behind the windshield for features like lane keeping assist, autonomous emergency braking, and adaptive cruise control. A poorly placed dash cam can block or interfere with these systems.
Solutions:
- Check your vehicle’s manual for the restricted zone around factory sensors
- Keep the dash cam mount at least 6 inches (15 cm) away from the factory camera housing
- Mount to the left or right of the rearview mirror — outside the sensor zone
- Do not position anything in front of or around the camera and radar units
Important: Even small deviations — by one degree or a few millimeters — can throw ADAS sensors off target. At motorway speeds, this could cause delayed braking or false alerts.
Problem 4: Mount Falling Off in Heat
Cause: Suction cups expand and contract with temperature changes.
Solution: Use a 3M adhesive mount on a static cling film. This combination stays secure even in extreme heat.
Problem 5: Tint Damage During Removal
Cause: Pulling adhesive directly off tint film.
Solution:
- Use a heat gun or hair dryer to warm the adhesive before removal
- Use dental floss or fishing line to “saw” between the mount and the glass
- Never use a razor blade — it will cut the tint
- If residue remains, warm it and gently rub it off
Warning: Even with precautions, there’s always a risk of tint damage during removal. Using a static cling film minimizes this risk significantly.
Rear Window Tint & Rear Dash Cam Installation
If you’re installing a rear-facing dash cam, the same principles apply — but with a few extra considerations.
Challenges
- Rear windows often have darker factory tint or aftermarket film
- Rear windows frequently have defroster lines (which create uneven surfaces)
- Static cling films cannot stick to rough or uneven surfaces like defogger lines
Solutions
- Mount the rear camera on a smooth area — typically below or between the defroster lines
- Use a static cling film on the smooth glass portion, then mount the adhesive bracket
- Alternative: Some users mount the rear camera upside down on the plastic housing of the brake light
- Route the cable along the headliner, across the door seals, and into the rear hatch area
Rear Camera Recommendations
The Thinkware U3000 and Vantrue N4 Pro both offer rear cameras with Sony STARVIS 2 sensors, providing excellent low-light performance even through tinted rear windows.
Audio Recording & Privacy Laws
Dash cams don’t just record video — most record audio too. Here’s what you need to know:
United States
Audio recording laws vary by state. Some states require one-party consent (you can record conversations you’re part of), while others require all-party consent.
United Kingdom
The Information Commissioner’s Office (ICO) provides guidance on dashcam and CCTV-style recording. Publishing footage can be treated differently from private retention.
Canada
Audio recording can trigger provincial privacy laws. Some provinces require consent from everyone involved in a conversation before recording.
Australia
Similar to Canada, audio recording is subject to privacy regulations. Consent rules apply in some regions.
Best Practice
- For personal use: Recording audio is generally fine
- For public sharing: Blur faces and license plates, or obtain consent before publishing
- Check local laws: Always verify your specific state, province, or territory’s requirements
How to Safely Remove a Dash Cam from Tinted Windshield
If you ever need to remove your dash cam, follow these steps to minimize tint damage:
- Heat the area — Use a hair dryer or heat gun on low setting to warm the adhesive
- Use dental floss or fishing line — Slide it behind the mount and use a sawing motion to separate the adhesive from the glass
- Never use a razor blade — It will cut the tint film
- Remove residue — Warm any remaining adhesive and gently rub it off
- If tint lifts — You may be able to re-stick it by applying heat and squeegeeing out air bubbles while warm
If you used a static cling film: Simply peel the film off the glass. It leaves no residue and causes zero damage.
Frequently Asked Questions (FAQ) on Can I Put a Dash Cam on a Tinted Windshield
Can a dash cam see through tinted windows?
Yes, but the darker the tint, the lower the video quality — especially at night. Cameras with Sony STARVIS sensors and HDR perform best behind tinted glass.
Will a dash cam damage my window tint?
Only if installed or removed incorrectly. Using a static cling film between the adhesive mount and the tint eliminates this risk entirely.
Can I use a suction cup mount on tinted glass?
It’s not recommended. Suction cups can fall off due to temperature changes and may pull tint film off when removed.
How long should I wait after tinting before installing a dash cam?
Wait at least 5–7 days for the tint to fully cure. In cold weather, wait longer.
Do I need a special dash cam for tinted windows?
Not necessarily, but you should prioritize cameras with Sony STARVIS/STARVIS 2 sensors, HDR, and adjustable lenses.
What’s the best VLT for dash cam performance?
20% VLT or higher ensures good performance. Below 20%, nighttime footage quality degrades significantly.
Can I use a CPL filter with a tinted windshield?
No — CPL filters and window tints multiply the light-blocking effect, severely darkening footage.
Will a dash cam block my car’s ADAS sensors?
It can, if placed incorrectly. Always check your vehicle’s manual for the restricted zone around factory sensors. Mount at least 6 inches away from the sensor housing.
Why isn’t my dash cam getting a GPS signal?
Metallic tint or heat-reflective glass is likely blocking the signal. Try mounting the camera near the frit area (black dotted section behind the mirror) or switch to ceramic tint.
Can I install a rear dash cam on a tinted rear window?
Yes, but avoid mounting on defroster lines as the surface is uneven. Use a static cling film on smooth glass areas.
Conclusion
Yes, you can absolutely put a dash cam on a tinted windshield. The key is understanding your tint type, using the right mounting method (static cling film + adhesive mount), choosing a camera with strong low-light performance (Sony STARVIS + HDR), and placing it correctly to avoid blocking ADAS sensors.
Follow the steps in this guide, and you’ll enjoy crisp, clear footage — day or night — without damaging your expensive tint or running into legal trouble.
-
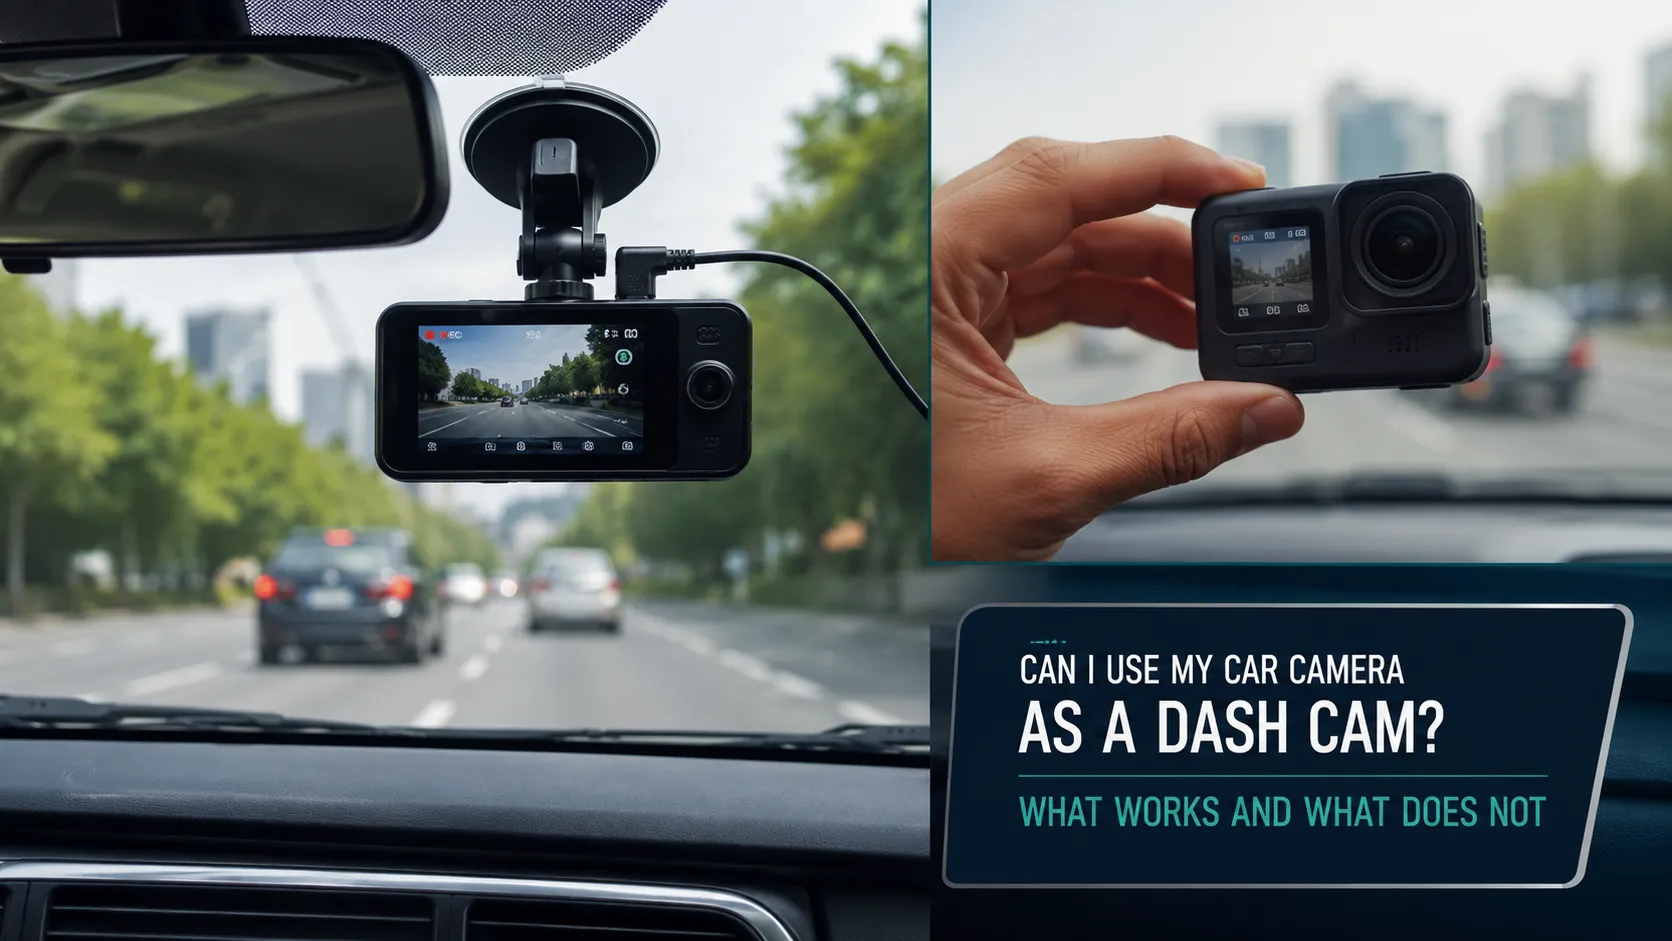
Can I Use My Car Camera as a Dash Cam? What Works and What Does Not
Yes, you may be able to use your car camera as a dash cam, but only if the camera system can record, store and export video footage. Simply having a front, rear or 360-degree camera does not mean your vehicle has dash cam functionality. Many factory-installed cameras are designed for reversing, parking assistance, lane keeping…
-
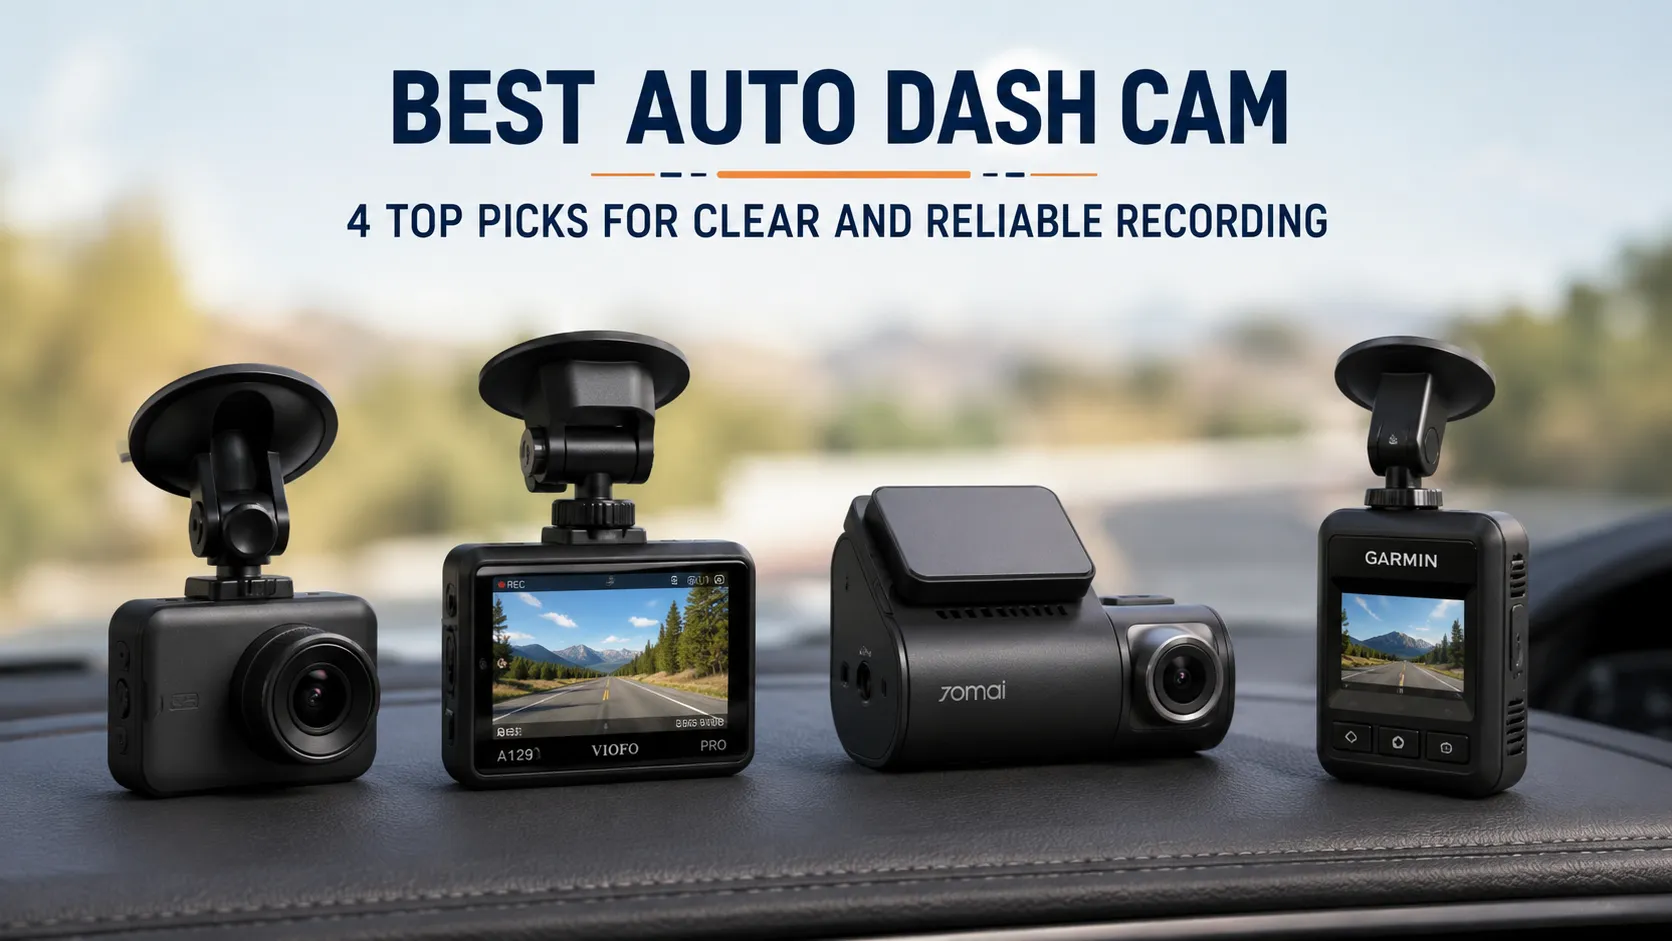
Best Auto Dash Cam: 4 Top Picks for Clear and Reliable Recording
A dependable dash cam can provide a clear record of unexpected incidents, close calls, parking impacts, and memorable road trips. The challenge is choosing the right model from dozens of cameras that promise sharp video, reliable night recording, simple mobile access, and useful parking protection. The best auto dash cam is not necessarily the model…
-
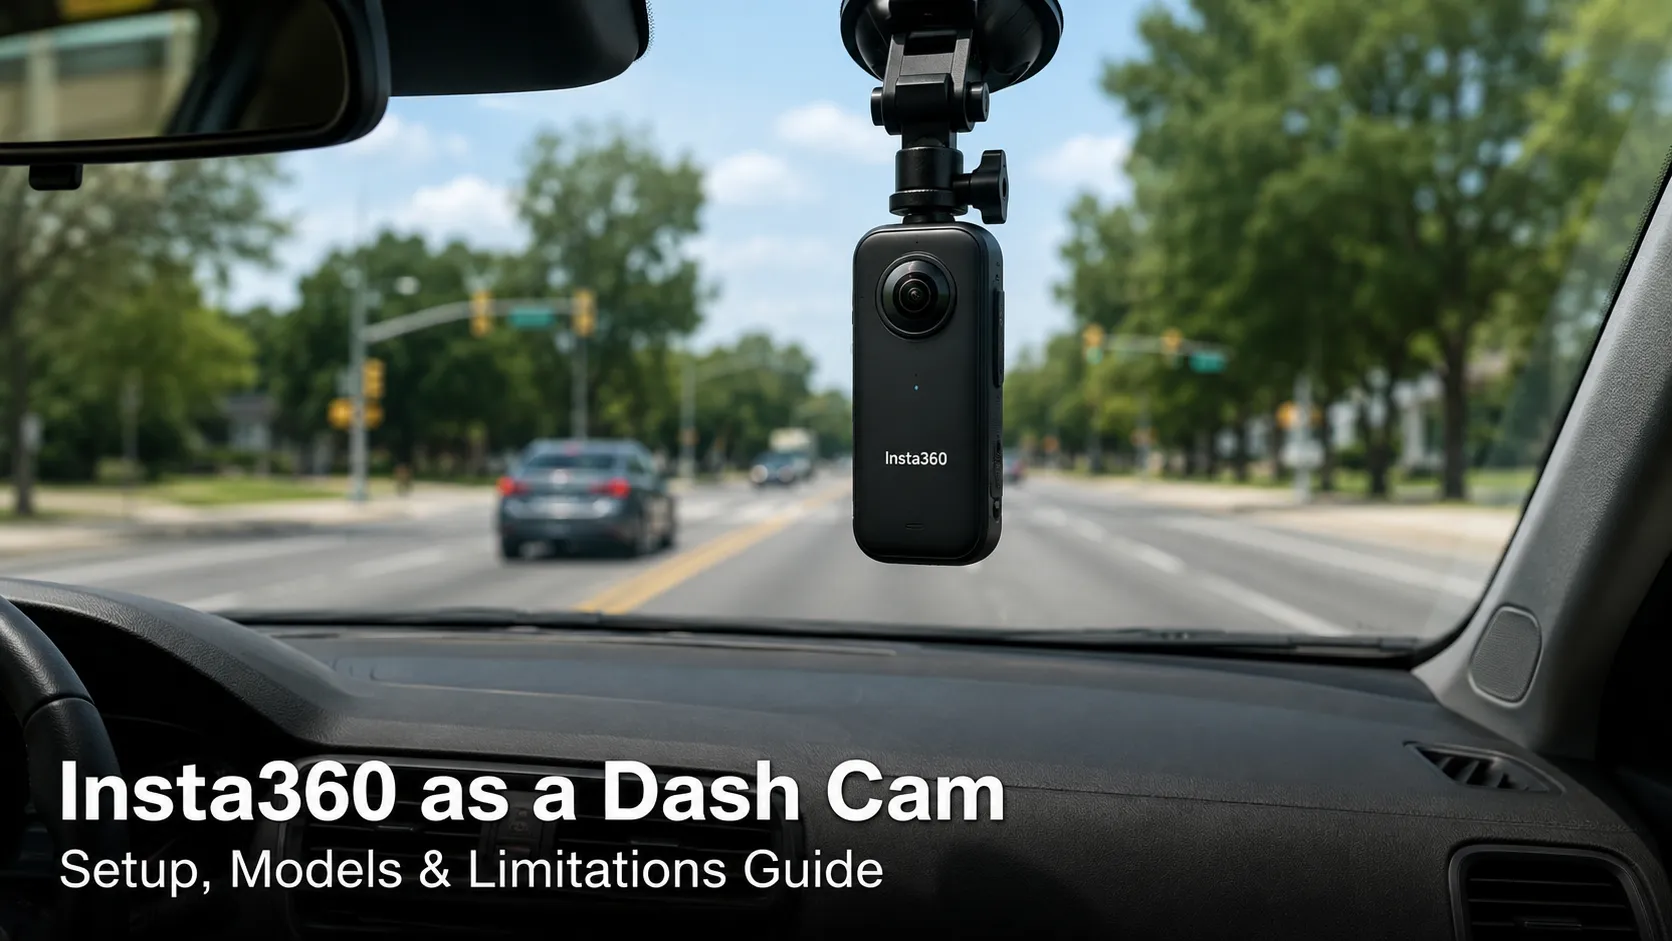
Can I Use Insta360 as a Dash Cam? Complete Setup, Models, and Limitations Guide
Yes, you can use an Insta360 as a dash cam, but whether it is a practical replacement for a dedicated dash camera depends on the model, your recording needs, and how you plan to power and mount it. Newer cameras such as the Insta360 X4, X5, and Ace Pro 2 offer a dedicated Dashcam Mode.…

Tony Kilmer is an auto mechanic and the author behind CarTruckAdvisor.com. He shares practical, no-nonsense guidance on car and truck maintenance, common problems, and repair decisions—helping drivers understand what’s going on and what to do next.